Setting Up An Open Source Firewall On Raspberry Pi: Your Ultimate Guide
Ever wondered how to secure your network without breaking the bank? An open source firewall on Raspberry Pi is your answer! It’s like turning a tiny computer into a guardian angel for your internet connection. Not only is it cost-effective, but it also gives you full control over your network security. In this guide, we’ll walk you through everything you need to know to set up and configure an open source firewall using Raspberry Pi.
Picture this: you’re sipping coffee in your living room, scrolling through social media, and suddenly you realize—your home network isn’t as secure as you thought. Hackers could be lurking around, waiting to exploit any vulnerabilities. That’s where Raspberry Pi comes in. This little device, combined with open source firewall software, can transform your network into a fortress.
Now, before you think this is too complicated, let me assure you—it’s not. Even if you’re not a tech wizard, this guide will break everything down step by step. By the end of it, you’ll have a fully functional firewall protecting your digital world. So, let’s dive in and make your network safer than ever!
Read also:Martha Stewart Endorsement A Deep Dive Into The Queen Of Domesticitys Powerhouse Partnerships
What is an Open Source Firewall?
Let’s start with the basics. An open source firewall is essentially software that manages and monitors network traffic based on predefined security rules. Unlike proprietary firewalls, open source ones are free to use and modify, giving users complete flexibility. This means you can tweak the settings to fit your specific needs without worrying about licensing fees.
When paired with a Raspberry Pi, which is a small, affordable computer, you’ve got yourself a powerful combination. The Raspberry Pi acts as the hardware backbone, while the open source firewall software handles the heavy lifting. Together, they create a robust security solution that’s perfect for home users and small businesses alike.
Why Choose Open Source?
Here’s the deal—open source software offers transparency, community support, and continuous improvements. You’re not tied to a single vendor, and updates are often frequent and free. Plus, the community-driven nature ensures that bugs are squashed quickly and new features are added regularly.
- Transparency: You can review the code to ensure there are no hidden backdoors.
- Cost-Effective: No expensive licenses to worry about.
- Customizable: Tailor the firewall to your exact requirements.
Why Raspberry Pi for Your Firewall?
Raspberry Pi might be small, but don’t let its size fool you. This nifty device packs a punch when it comes to performance and versatility. It’s low-cost, energy-efficient, and easy to set up, making it an ideal choice for running open source firewall software.
One of the biggest advantages of using Raspberry Pi is its compatibility with a wide range of operating systems and applications. Whether you’re using Pi-hole, pfSense, or OPNsense, Raspberry Pi can handle it with ease. Plus, its compact design makes it perfect for tucked-away installations, freeing up space in your home or office.
Hardware Requirements
Before we jump into the setup process, let’s talk about what you’ll need:
Read also:Ron Howard Age The Untold Story Behind Hollywoods Beloved Director
- Raspberry Pi (Model 3B+ or newer recommended)
- MicroSD card (16GB or larger)
- Power adapter
- Ethernet cables
- Keyboard and monitor (optional, for initial setup)
These components are readily available and won’t break the bank. Once you’ve got them all, you’re ready to roll!
Top Open Source Firewall Software for Raspberry Pi
Now that we’ve covered the basics, let’s explore some of the best open source firewall options for Raspberry Pi. Each has its own strengths, so the choice depends on your specific needs and preferences.
1. pfSense
pfSense is one of the most popular open source firewall solutions out there. It’s known for its reliability, performance, and extensive feature set. With pfSense, you can set up advanced routing, load balancing, and intrusion detection—all on your trusty Raspberry Pi.
2. OPNsense
If you’re looking for a modern alternative to pfSense, OPNsense is worth considering. It offers similar functionality but with a more user-friendly interface. Plus, it includes built-in support for Next-Generation Intrusion Prevention Systems (NGIPS), making it a great choice for those who want an extra layer of security.
3. Pi-hole
While Pi-hole isn’t technically a firewall, it serves as an ad-blocker and DNS sinkhole, enhancing your network’s security by blocking malicious websites. It’s lightweight, easy to set up, and works seamlessly with Raspberry Pi.
Step-by-Step Guide to Setting Up an Open Source Firewall
Ready to get your hands dirty? Follow these steps to set up an open source firewall on your Raspberry Pi:
Step 1: Prepare Your Raspberry Pi
Start by downloading the latest version of Raspberry Pi OS (or the OS compatible with your chosen firewall software). Flash the image onto your microSD card using a tool like Balena Etcher. Once done, insert the card into your Raspberry Pi and power it up.
Step 2: Install the Firewall Software
Depending on which software you choose, the installation process may vary slightly. For example, with pfSense, you’ll need to download the ARM version of the software and install it on your Raspberry Pi. Make sure to follow the official documentation for the most accurate instructions.
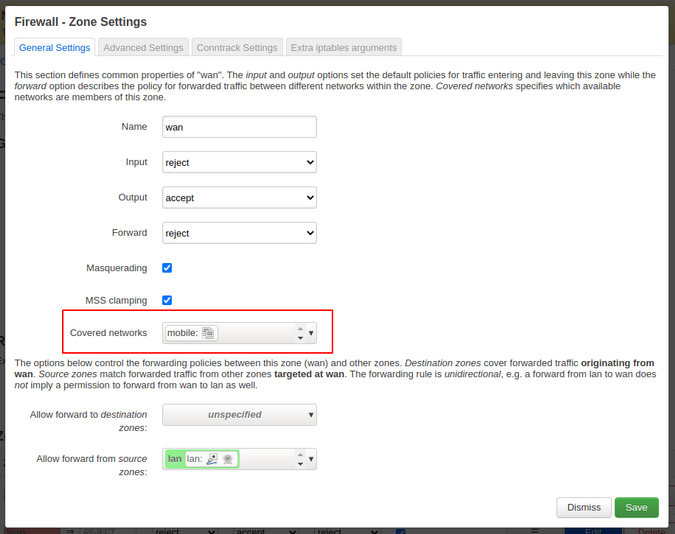
Step 3: Configure the Firewall
Configuration is where the magic happens. You’ll need to define rules for inbound and outbound traffic, set up VLANs if necessary, and configure any additional features like intrusion detection or load balancing. Don’t worry if this sounds intimidating—most open source firewalls come with intuitive web interfaces that make the process straightforward.
Step 4: Test and Optimize
Once everything is set up, test your firewall to ensure it’s working as expected. Send some traffic through it, check for dropped packets, and verify that your security rules are being enforced. If everything looks good, take some time to optimize the settings for maximum performance.
Security Best Practices for Your Open Source Firewall
Having a firewall is great, but it’s only as effective as the security practices you implement. Here are a few tips to keep your network safe:
- Regularly update your firewall software to patch vulnerabilities.
- Use strong, unique passwords for admin accounts.
- Enable two-factor authentication wherever possible.
- Monitor logs regularly to detect and respond to suspicious activity.
By following these best practices, you’ll significantly reduce the risk of unauthorized access and potential breaches.
Common Challenges and How to Overcome Them
While setting up an open source firewall on Raspberry Pi is relatively straightforward, you might encounter a few hiccups along the way. Here are some common challenges and how to tackle them:
Challenge 1: Performance Issues
Solution: Ensure your Raspberry Pi has adequate cooling and is running the latest firmware. Consider upgrading to a more powerful model if needed.
Challenge 2: Configuration Complexity
Solution: Take advantage of online tutorials and community forums. Chances are, someone else has already faced and solved the same issue.
Challenge 3: Compatibility Problems
Solution: Double-check that your chosen firewall software is compatible with your Raspberry Pi model. Refer to the official documentation for supported configurations.
Real-World Applications of Open Source Firewalls
Open source firewalls aren’t just for tech enthusiasts; they have practical applications in various industries. For instance, small businesses can use them to protect sensitive customer data, while schools can implement them to filter inappropriate content. Even individuals can benefit from having a personal firewall to safeguard their online activities.
Future Trends in Open Source Firewalls
The world of cybersecurity is constantly evolving, and open source firewalls are no exception. Expect to see advancements in AI-driven threat detection, enhanced automation, and tighter integration with cloud services. As these technologies mature, they’ll make open source firewalls even more powerful and accessible to users of all skill levels.
Conclusion: Secure Your Network Today
Setting up an open source firewall on Raspberry Pi is a game-changer for anyone looking to boost their network security. With its affordability, flexibility, and community support, it’s a solution that’s hard to beat. So, what are you waiting for? Grab your Raspberry Pi, follow this guide, and start protecting your digital world today!
Don’t forget to share your thoughts in the comments below or check out our other articles for more tips and tricks. Together, let’s make the internet a safer place—one firewall at a time!
Table of Contents
- What is an Open Source Firewall?
- Why Choose Open Source?
- Why Raspberry Pi for Your Firewall?
- Hardware Requirements
- Top Open Source Firewall Software for Raspberry Pi
- Step-by-Step Guide to Setting Up an Open Source Firewall
- Security Best Practices for Your Open Source Firewall
- Common Challenges and How to Overcome Them
- Real-World Applications of Open Source Firewalls
- Future Trends in Open Source Firewalls
Article Recommendations